
How to Make Paper Snowflakes
We are constantly hunting for Do-it-yourself crafts to share throughout this cheerful time. From demonstrating you how to make a bow as a current or decoration to how to Do-it-yourself a Christmas stocking to disguise your tiny (and scrumptious) treats. This time, you can understand how to make a snowflake in two distinct techniques.
Paper snowflakes make terrific craft ideas for children (and special residence decorations if you happen to be hunting for a wintery really feel). You can glue them to your home windows, hang them on your partitions and even flip them into a snowflake wreath for all of your friends to admire. Stick to our uncomplicated actions for instructions on how to make common and 3D paper snowflakes. You can also enjoy our video clip higher than for stage-by-stage visuals.
How to Make a Vintage Paper Snowflake
Resources:

Recommendations:
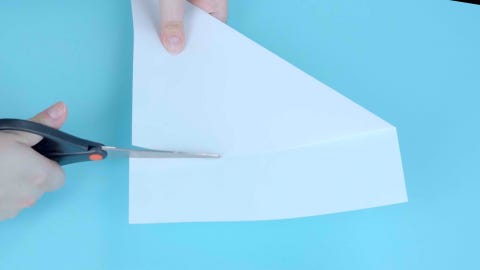
- Get to folding: Fold your paper diagonally.

- Snip snip: Minimize off the excessive paper at the bottom.
- Fold your paper in 50 %.
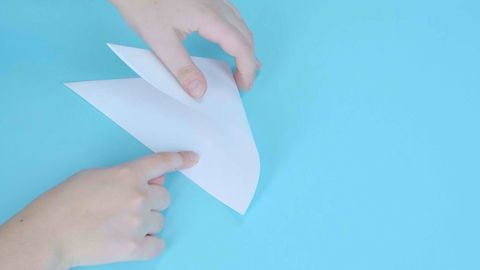
- Fold the paper in thirds.
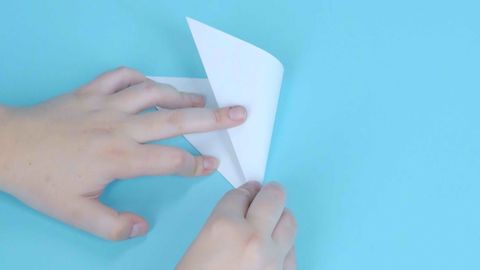
- Flatten out the prime of your paper by slicing off factors.
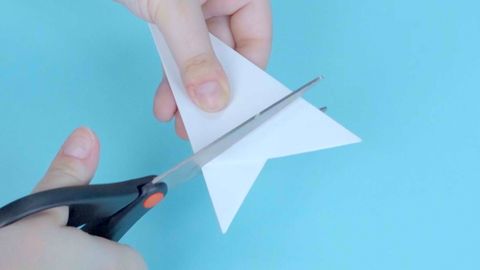
- Get imaginative: Draw your have pattern for your snowflake.
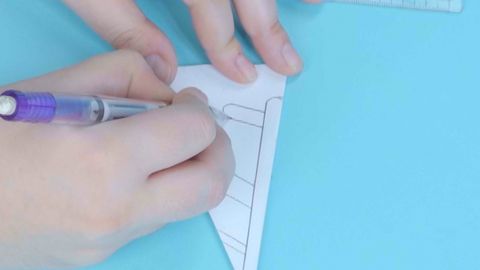
- Mark all of the vacant areas you didn’t draw on with an x.
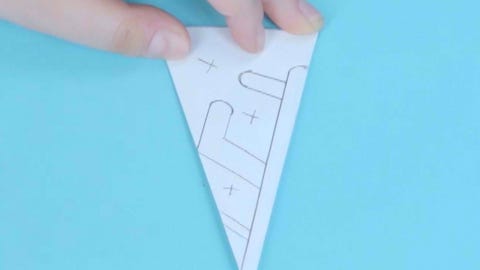
- Reveal your sample: Cut out the marked sections and unfold to reveal your snowflake.


Idea: Use a small location to lightly iron your paper snowflakes to easy out any creases.
How to Make 3D Paper Snowflakes

Supplies:
Guidance:
- Fold your paper diagonally.
- Reduce off the excessive paper at the bottom.
- Fold the paper in fifty percent.
- Cut three diagonal traces along the non-folded edge of your paper.
- Unfold your paper right after trimming.
- Tape your center flaps collectively.
- Flip and tape all of the flaps to the middle of your snowflake.
- Repeat all of the former steps for the other 5 items of paper.
- Mix all 6 of the papers collectively at the center stage and use your stapler to keep them in place.
- Staple every single part alongside one another using your stapler.
This information is designed and taken care of by a 3rd get together, and imported onto this web site to assistance customers deliver their e mail addresses. You may possibly be able to find extra information and facts about this and comparable content at piano.io


